Setting up a new Data Source
ℹ️ To add a data source, you need to have the global
Adminrole in Raito. See User Management for more information on roles in Raito.
To add a new data source in Raito Cloud, follow these steps:
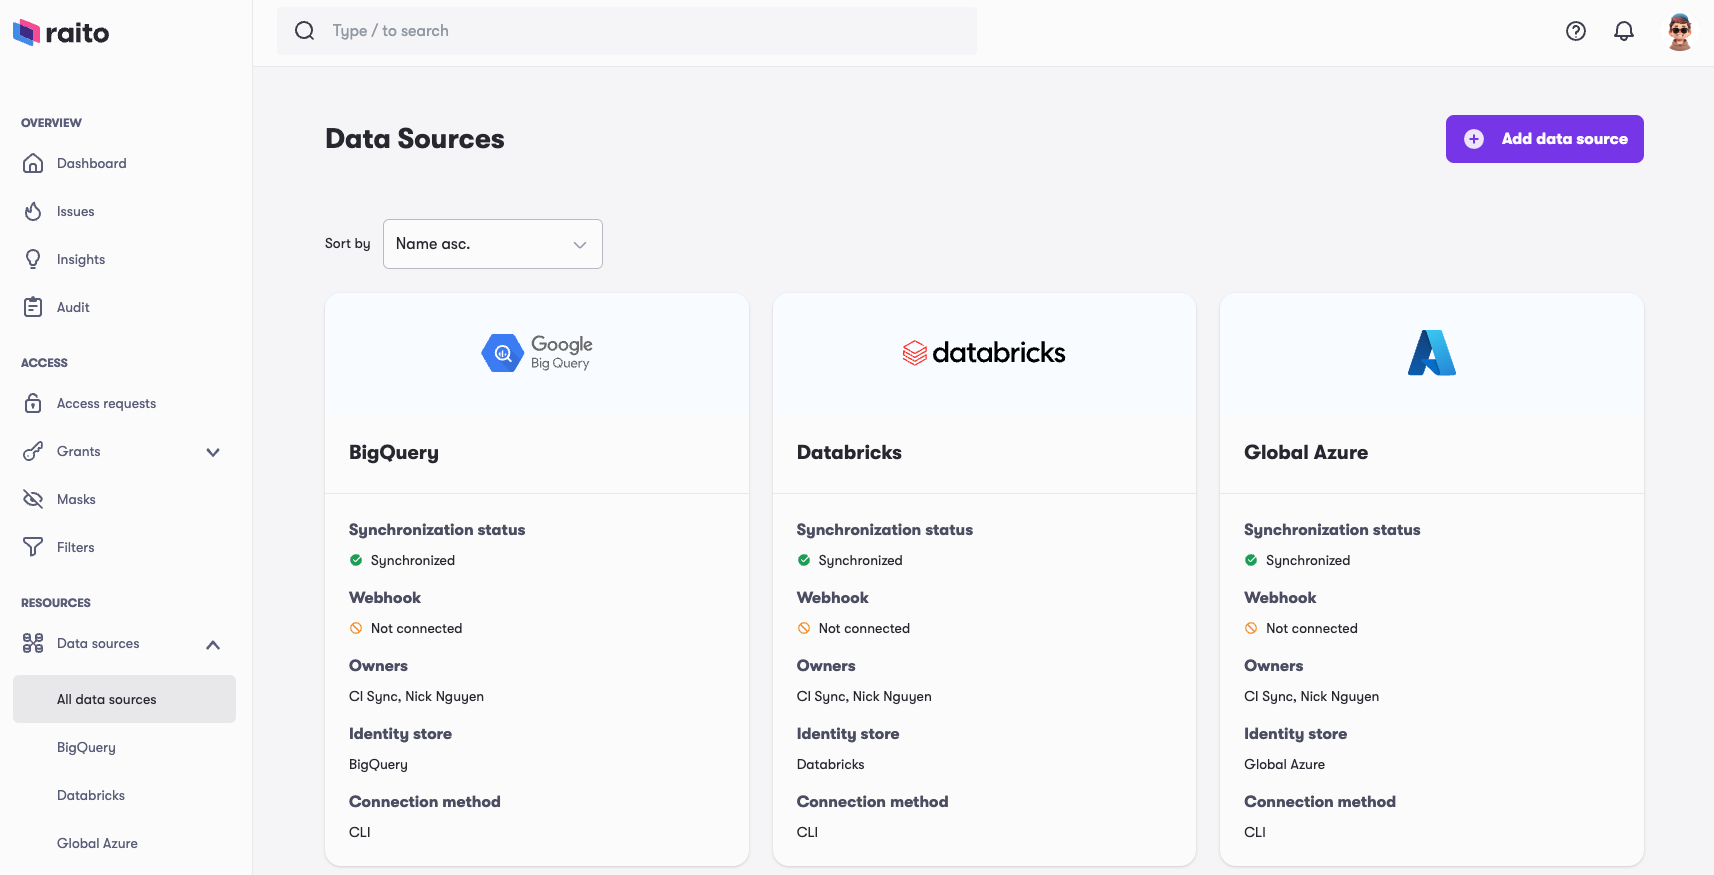
- In the sidebar navigation menu, open up the
Data sourcespanel and click theAll data sourcesmenu item. - Now click the
Add data sourcebutton in the top right corner. - Select the type of data source you would like to add. Note: This choice is purely meant to guide you through setting up this specific data source type. If your data source type is not in the list (for example, when you built your own Raito CLI plugin), you can pick any type to continue.
- Provide a name for your data source. This name will be the display name for this data source within Raito Cloud and will be visible to all the users in the system.
- Next, provide an optional description for your data source to describe in more detail what this data source contains and what it is meant for.
- Select your connection method by choosing between a Raito managed CLI (quick start) or self-managed CLI (recommended for production cases). Note: This option is not available for all data source types.
- When done, you will land on the main page of your new data source. Because it hasn’t been connected to the actual data source yet, instructions will be shown on how to proceed.
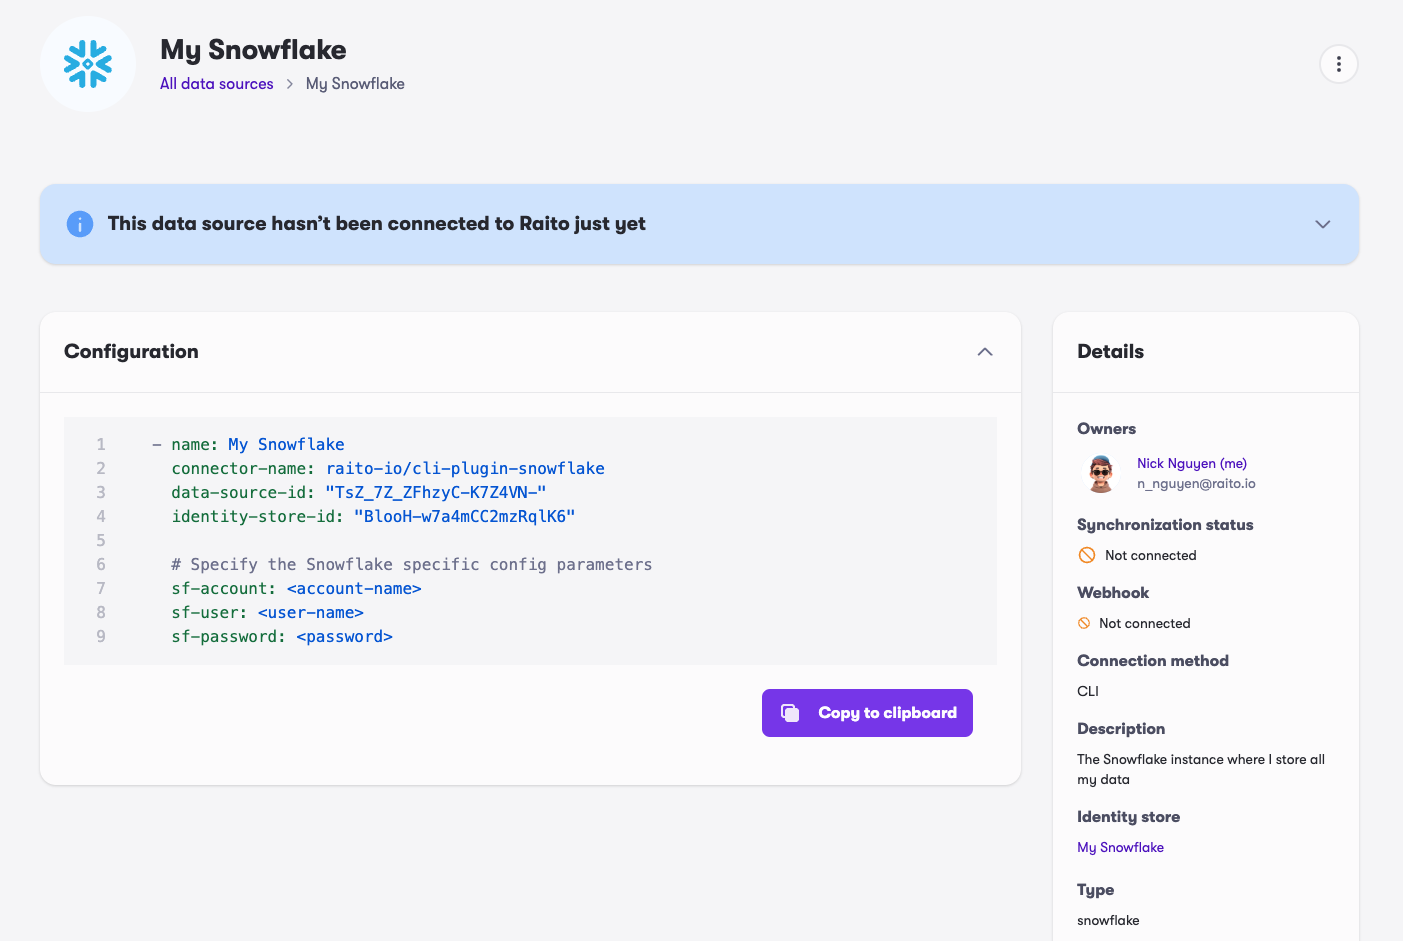
When you chose to use the self-managed CLI, it is now time to configure the CLI to execute a first synchronization of the newly created data source. A full guide on how to fully setup your first data source can be found in our Guides section.
Once your data source is connected and a first synchronization ran successfully, you’ll be able to start exploring the current state of your access controls and usage.